
Welcome to Cloud-Bricks, if you are reading this document should
be anxious to connect to your new Private Cloud.
Requirements
To ensure safe access you must have the following:
- URL of your Cloud-Brick, has the form: https://<Customername>.cloud-bricks.net:444
- Certification Authority certification Cloud (xxxCA.crt file)
- Access client certificate (xxx.p12 file)
- Password to decrypt the certificate.
- Username and password for the system.
In order to connect to the management system you must install
your Private Cloud security certificates locally on your browser.
The first certificate is the certification authority of the physical server and the second is the client certificate to allow only the owner of the server can connect to the management interface.
The two passwords are used, one to install the client certificate
(p12), and the other for authenticating the user to the management
interface.
Installing Certificates for Internet Explorer
Install Certificate of cloud (xxxCA.crt)
Run "mmc" command:
Add the Snap-in certificates.
Enable Certificate Management Console:
Manage Certificates for Local Computer, select the option
"Computer account":
Click the option "Local computer" and click on Finish button.
- Navigate to "Console Root" → "Certificates (Local Computer)" → "Trusted Root Certification Authorities" → "Certificates".
- Right click and choose the "All Tasks" → Import option
Import Wizard opens.
Select where to store the certificate.
Install Client Certificate (* p12)
In Windows environments, from a .pfx or .p12 certificate format,
it is possible to double click on the file. Then, Windows
automatically launch a wizard that will guide you.
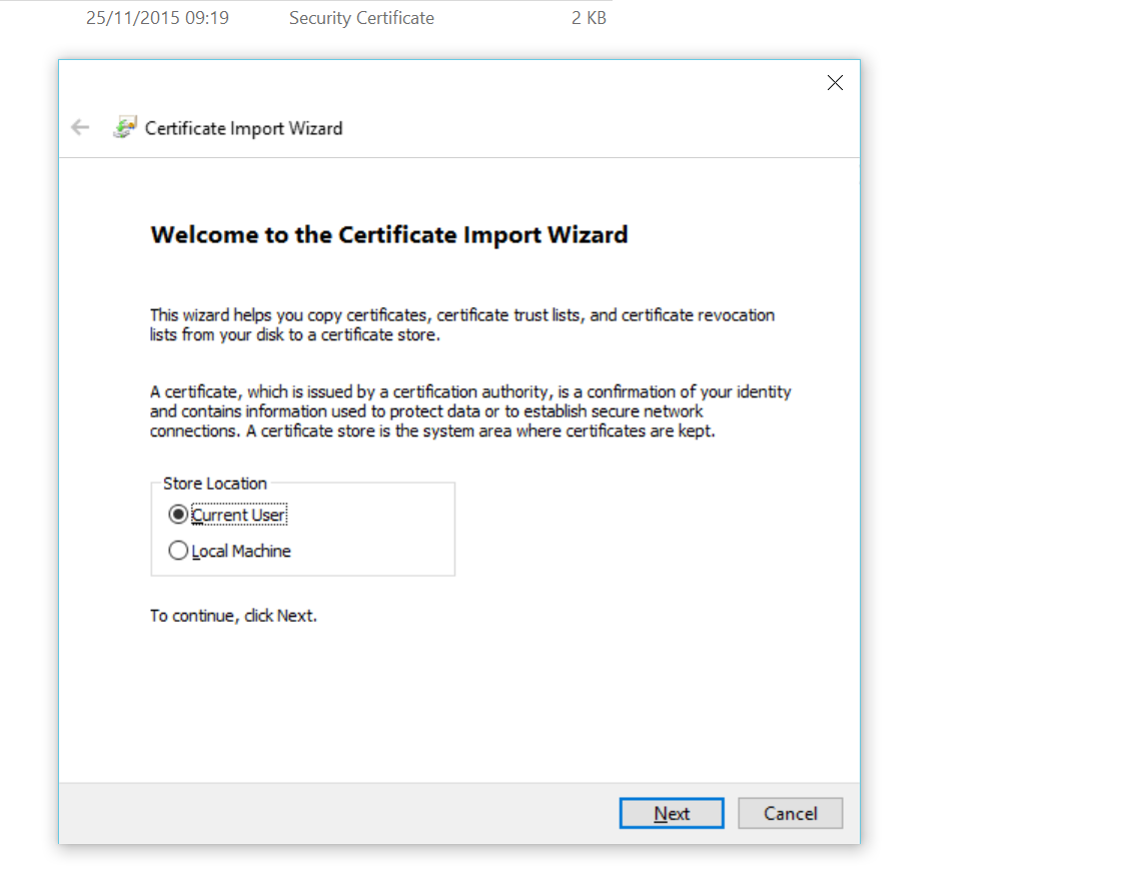
Click on Next. Do not change anything.
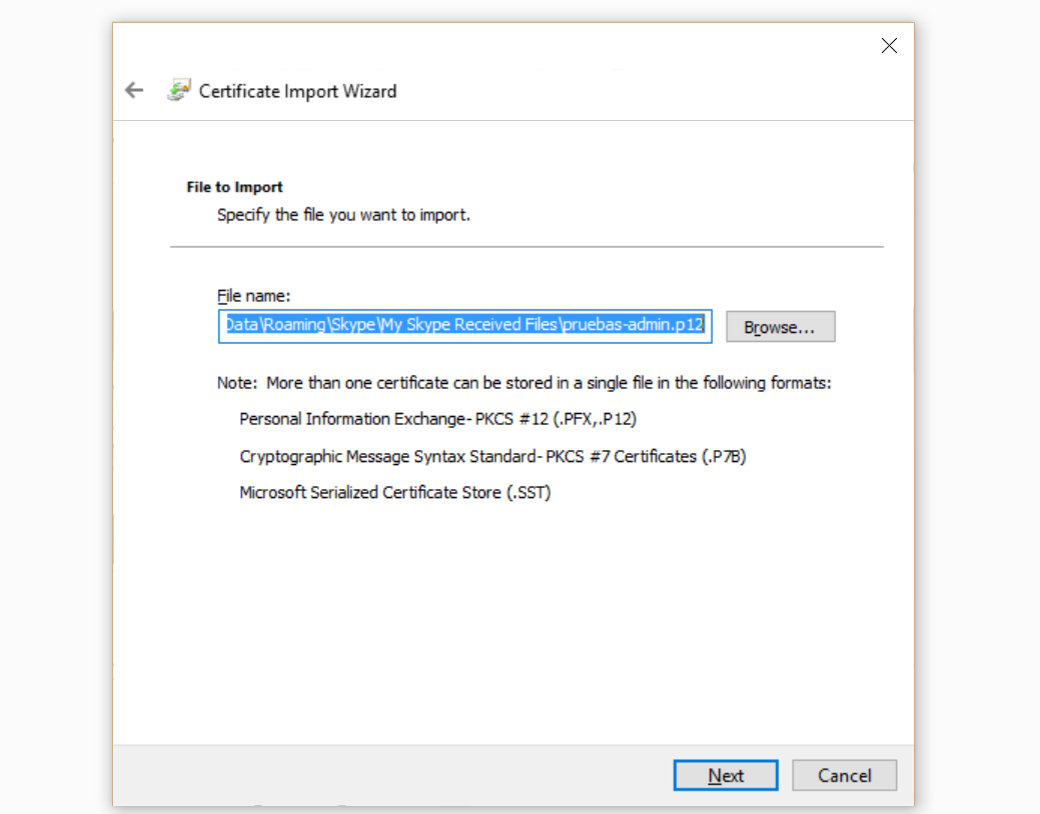
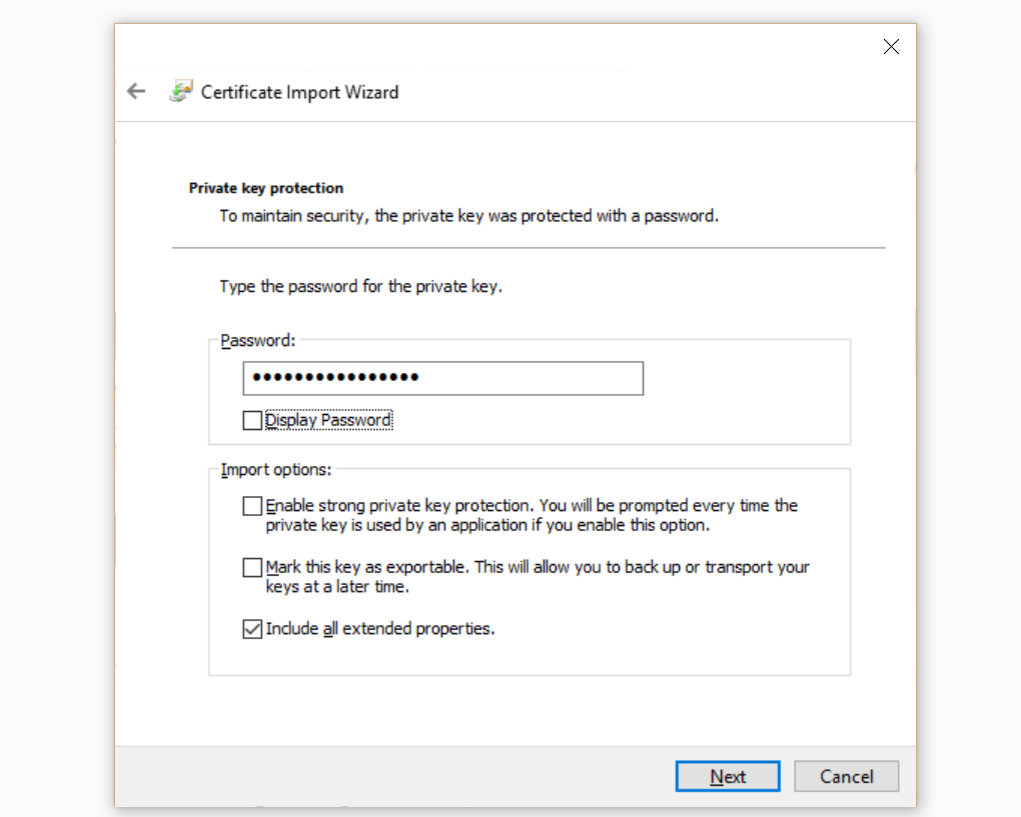
Now enter the certificate password, click on Next
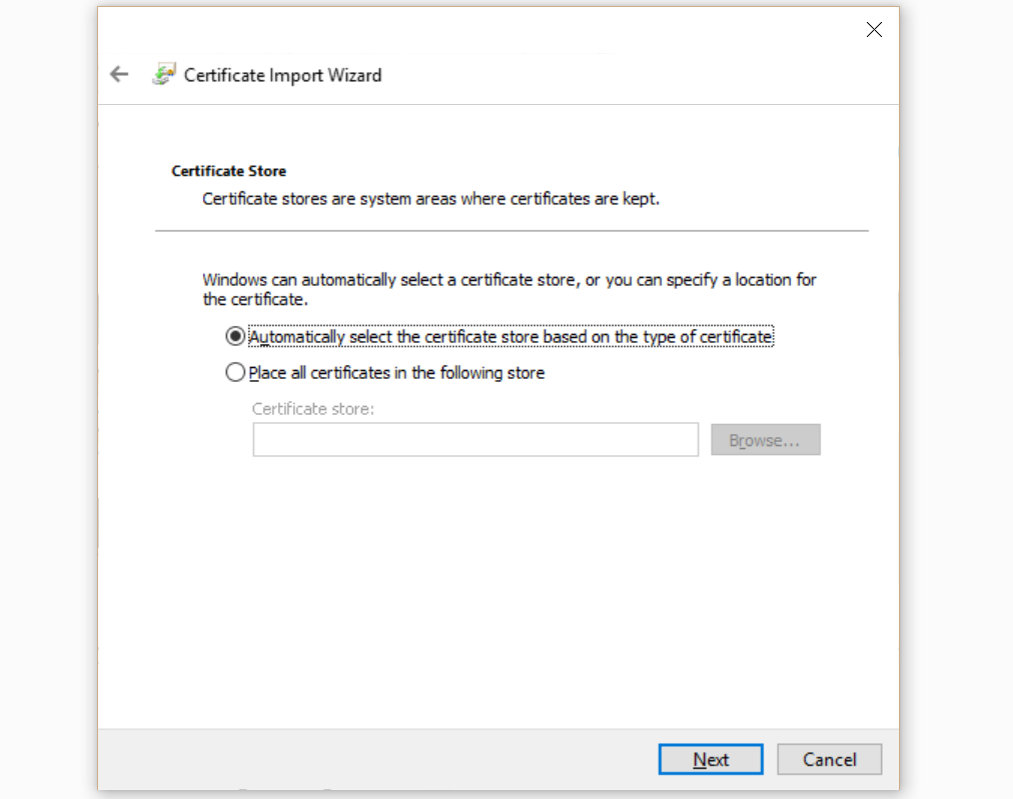
Click on Next. Do not change anything.
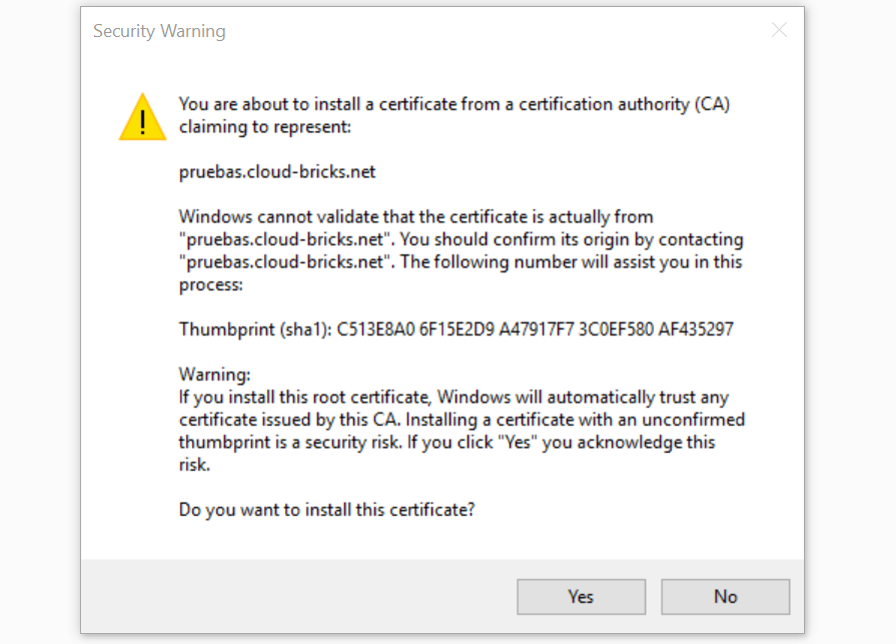
Finally click on Finish to install the client certificate. A warning window appears on the certificate, click on Yes.
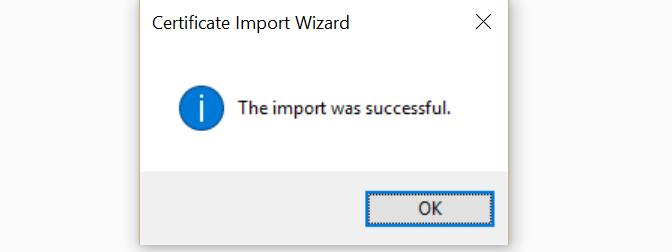
The certificate has been installed.
Install certificates on Firefox
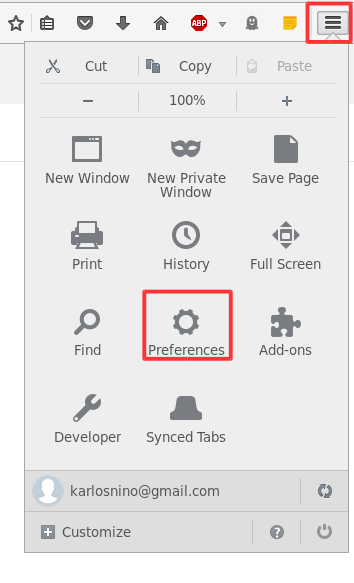
Click on the Options menu, then click the Preferences button.
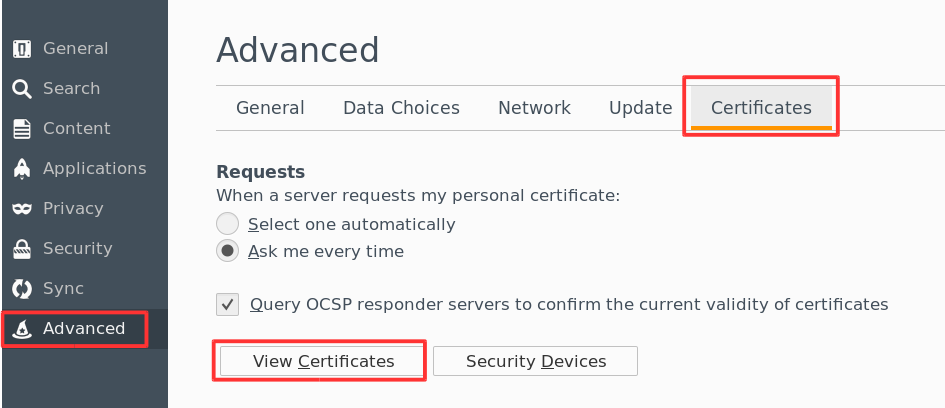
In the left menu click on "Advanced", then go to the "Certificates" section and finally click on the button View Certificates.
In the window "Certificate Manager" there are two tabs that interest us:
- Your Certificates: Here you must import the file xxxxx.p12 (the certificate password will be requested)
- Authorities: Here you must import the certificate xxxxca.crt
In each of these tabs to click the Import... button and look for the corresponding certificate.
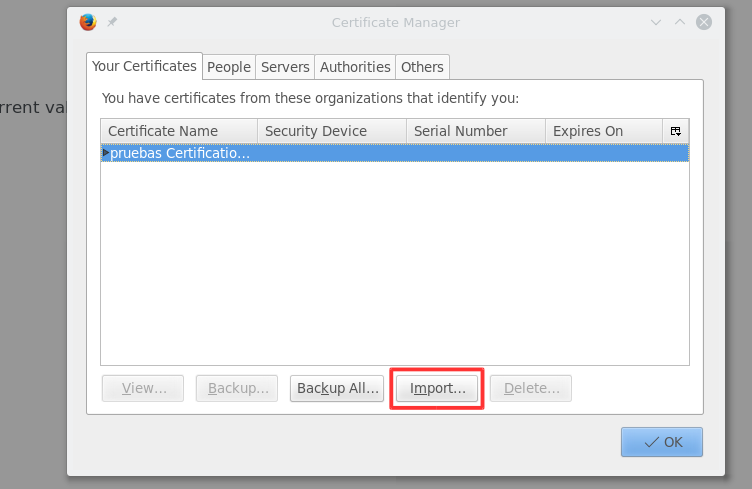
Once you have imported the two certificates will be possible to access the site safely.
Install certificates on Google Chrome
In Chrome, click on the Options menu button, then click on the "Settings"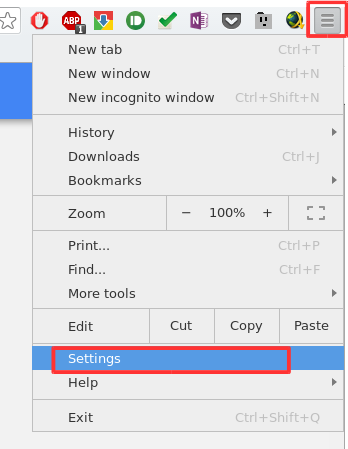
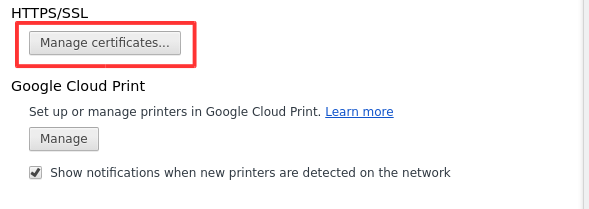
At the bottom click on the "Show advanced settings". In the "HTTPS/SSL" click on the Manage Certificates button.
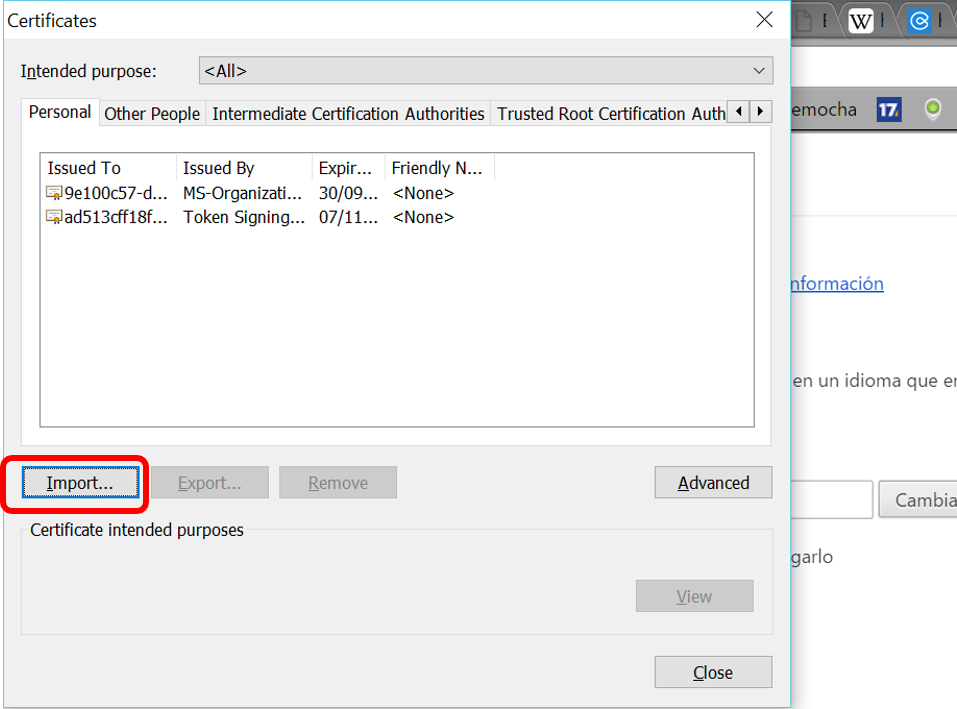
There are two tabs that interest us:
- Personal: Here you must import the file xxxx.p12 (the certificate password required)
- Trusted Root Certification Authorities: Here you must import
the certificate xxxxCA.crt
In each of these tabs to click the Import... button and find the corresponding certificate.
Once you have imported the two certificates will be possible to access the site safely.